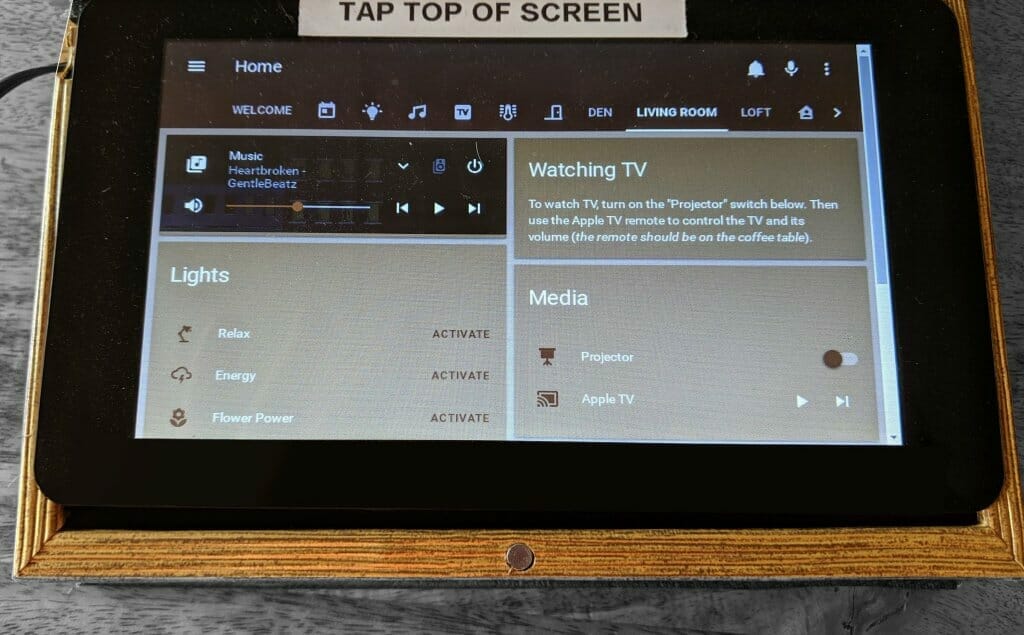
I needed a way to for guests to control my home automation. There are many easy remote control products out there, like Harmony by Logitech. But home-assistant.io is so much more powerful than these off-the-shelf solutions. So I decided to build “magic spellbooks” from Raspberry Pis that act as controllers around the house.
Raspberry Pi Spellbook
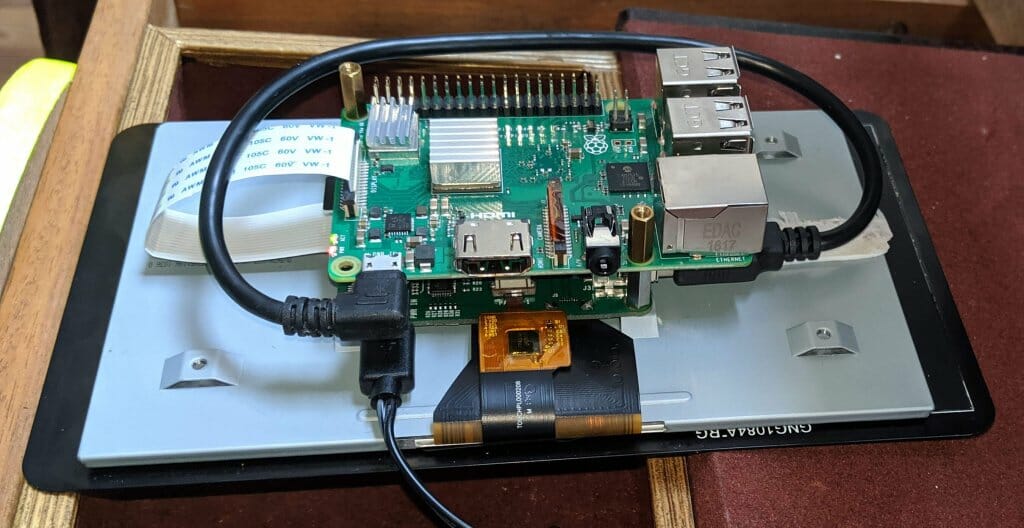
I was able to find jewelry boxes in the shape of books from local artisans near San Francisco for about $40 each. They happened to fit the 7″ touchscreen perfectly so that the book can still close easily yet the hardware is hidden.
Skip to the end of the post for an exact part-list.
This comes out to $108 for hardware and $40 for the decorative case, totaling ~$148 per spellbook as of mid-2019. You could probably do it for less if you used a smaller screen, older raspberry pi, etc.

Raspberry Pi Kiosk Installation
- Install Raspbian Desktop with NOOBS
- Set the hostname to
spellbook-{ROOM}via the Configuration tool (where{ROOM}is the location of this device) - Configure password-less SSH access (make sure to use the SSH keys from the Home Assistant computer from above)
- Set up a static IP address on the wifi or ethernet network
- Copy the startup script to
/home/pi/startup.sh - [Optional] Install
xscreensaverand set it to blank.
Finally, you’ll need to configure the exact startup parameters by creating or editing ~/.config/lxsession/LXDE-pi/autostart. You’ll need the address of your home-assistant installation from the next step. My startup file looks like this:
@bash /home/pi/startup.sh --no-tvservice --no-usb http://192.168.1.100:8111The --no-tvservice turns off HDMI and --no-usb turns off the USB/ethernet board in order to reduce power consumption. Turning off USB also serves as a security feature, in that it prevents physical takeover of the device by plugging in a keyboard.
If you need to debug the startup script, just tail ~/.cache/lxsession/LXDE-pi/run.log
Home-Assistant.io
- Install Home-Assistant
- Create a Spellbook user
- Configure auth providers to allow access for each of the Spellbook IPs to log in to the Spellbook user. Example:
  auth_providers:
    - type: homeassistant
    - type: trusted_networks
      allow_bypass_login: true
      trusted_networks:
        - 192.168.1.201 # Spellbook Living Room
        - 192.168.1.202 # Spellbook Loft
        - 192.168.1.203 # Spellbook Den
      trusted_users:
        192.168.1.201: 058228264468483e9f091425da169c7b
        192.168.1.202: 058228264468483e9f091425da169c7b
192.168.1.203: 058228264468483e9f091425da169c7bOptional: install kiosk.js in home-assistant, which will make the spellbooks open without the top bar when the &kiosk URL is provided. This also doubles as a security feature, because it prevents people from being able to access the configuration screens.
Optional: you can install monitor on the spellbooks to turn them into bluetooth beacons that detect your presence. With a spellbook in each room, you can actually determine which room each person is in based upon their phone.
Putting it All Together
When you reboot the spellbook, it should immediately open Chromium in kiosk mode to your home assistant login page. You can use the “trusted local network” login to access the account you created.

The final part list was:
Total cost: ~$160 per spellbook, as of mid-2019.
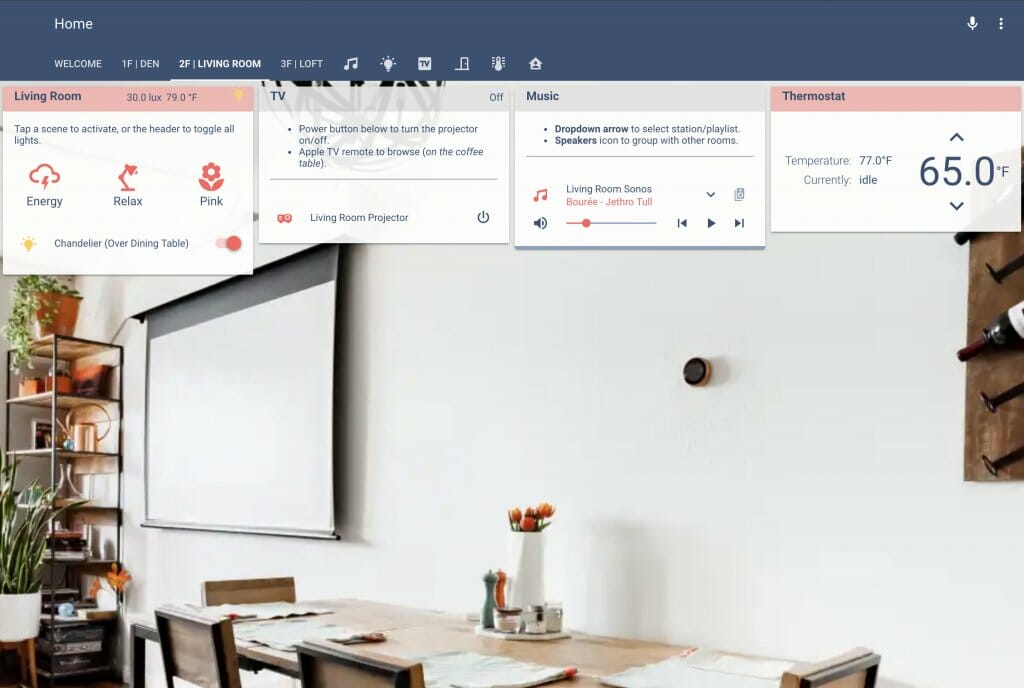
In other posts, I’ll take a look at the rest of the home-assistant configuration, which now looks closer to this:


