After a few weeks with our Maslow CNC router, we graduated to using nicer wood to make real furniture. CNC cabinets are a great beginner woodworking project. They take advantage of the precise cutting capabilities of a CNC machine.

The Maslow CNC router is popular because it is large, open-source and cheap. It is uniquely well-suited in the CNC space for making furniture on a budget. This made it the ideal choice in my attempts to furnish the cabin cheaply during quarantine.
Cabinet doors provide an interesting canvas on which to experiment, as well. We had tried some simple CNC engraving already. Cabinet doors allowed us to put those skills into practice. I’ll explain how we through about the design, and then share some lessons learned at the end of this post.
Designing CNC Cabinets
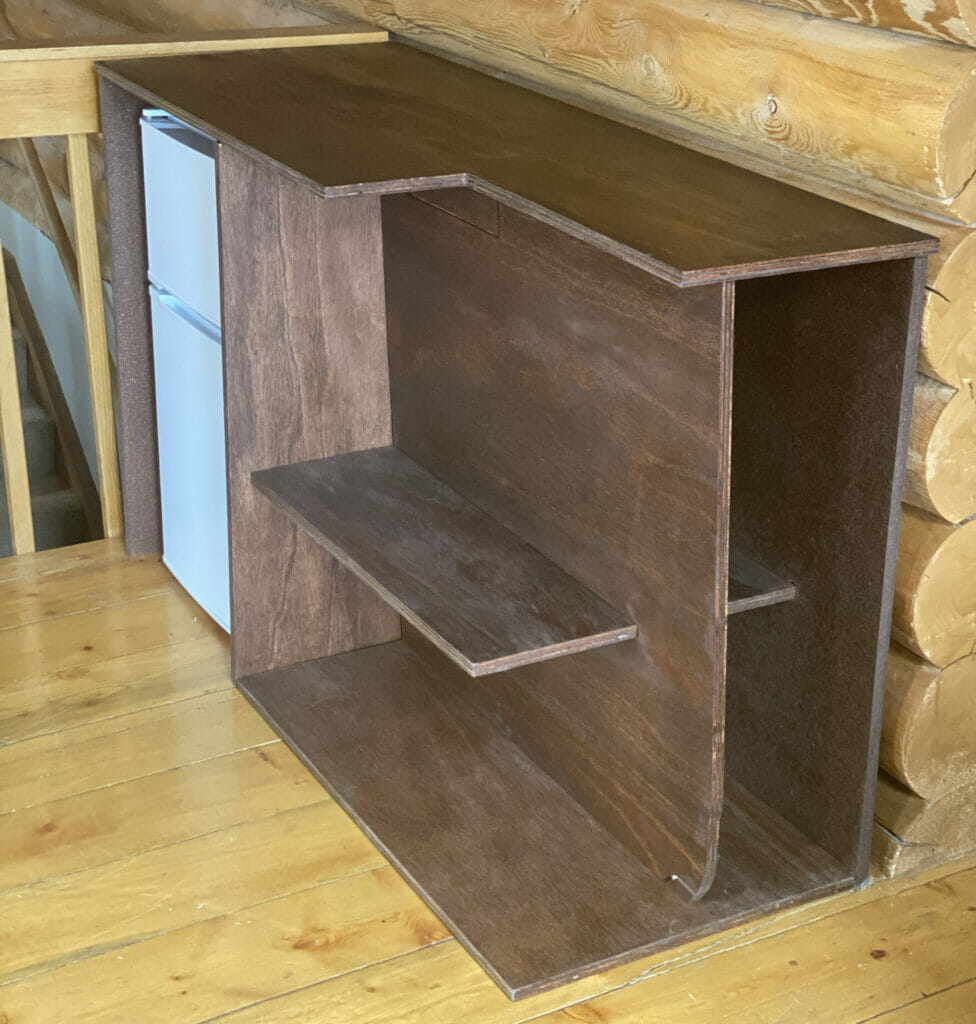
We wanted a way to hide a mini-fridge in the cabin, as well as a wine rack. We decided to design an entire bar cart around the mini fridge dimensions. We took inspiration from mid-century modern design, but wanted the bar cart to be unique.
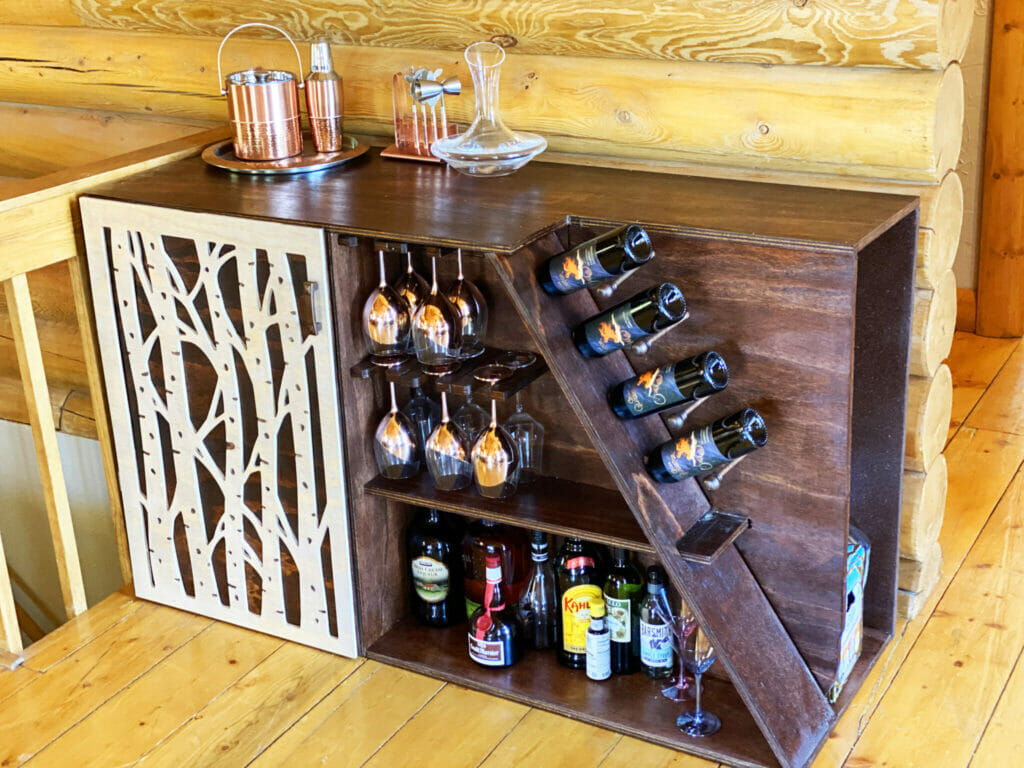
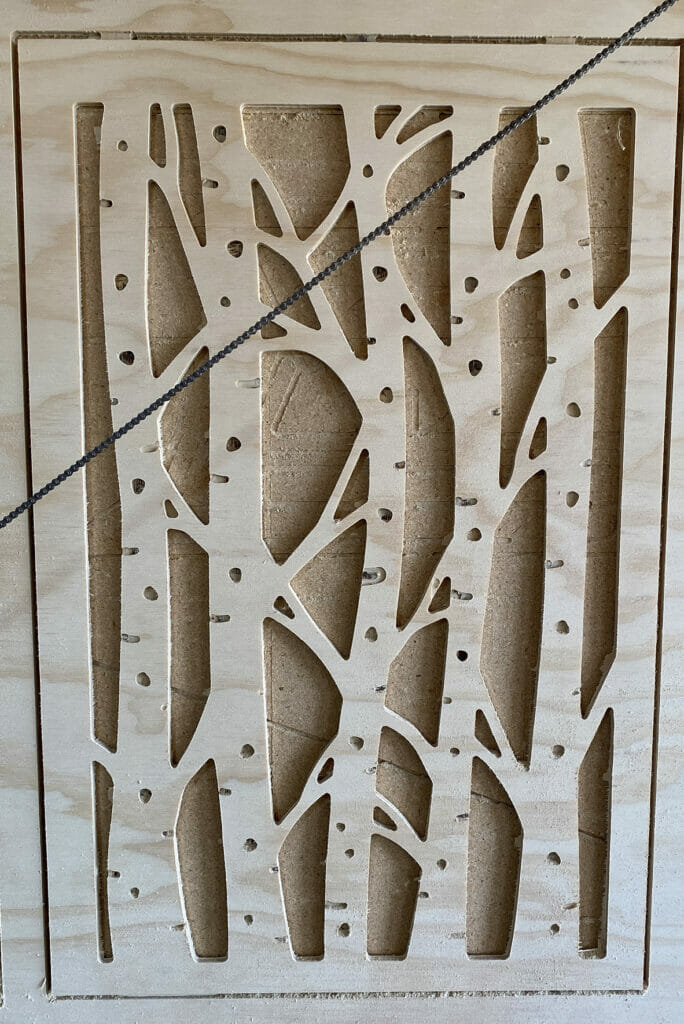
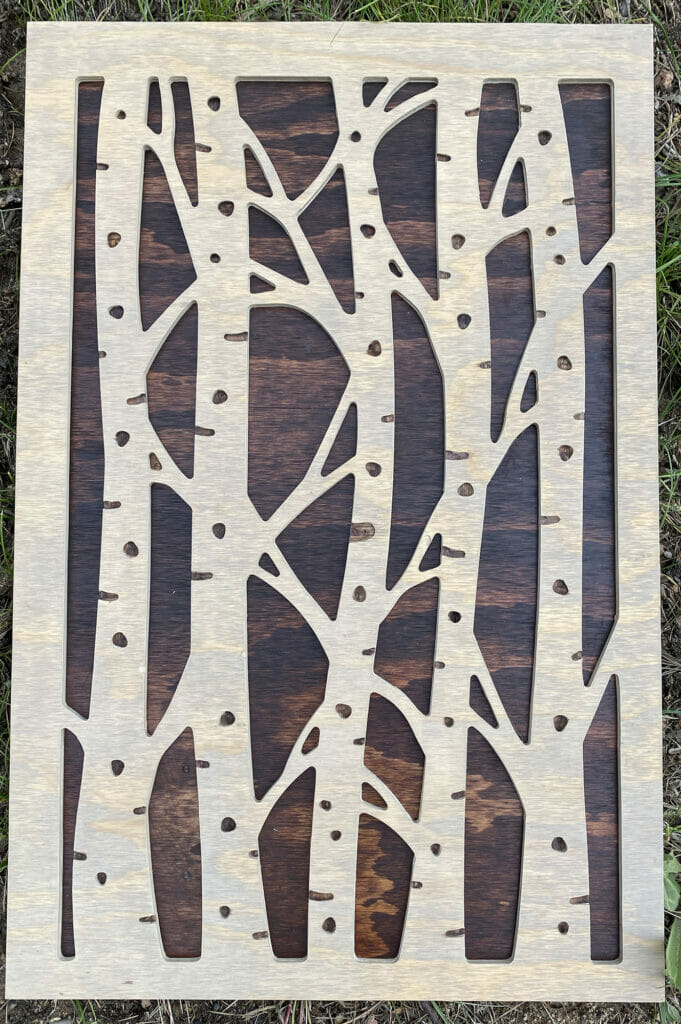
The cabinet door was cut out of two sheets of plywood, each 3/8″. The back sheet, stained dark, was a simple rectangle. The front sheet contained the Aspen tree design.
CNC Bar Cart Plans
This was the first project I designed entirely in Fusion 360. I had followed a few simple tutorials online and printed a flat-pack bookshelf. It took:
- ~4 hours to design the entire bar cart.
- ~2 days of cutting with the Maslow CNC.
- 3 sheets of wood (1x MDF, 2x plywood).
Which cost less that $100. We also spent another $60 on hardware (handles, hinges, and pegs). Most of the hardware was purchased from VintageWireAndSupply.com.
Here is the Fusion 360 project.
Feel free to use it in any way you see fit.
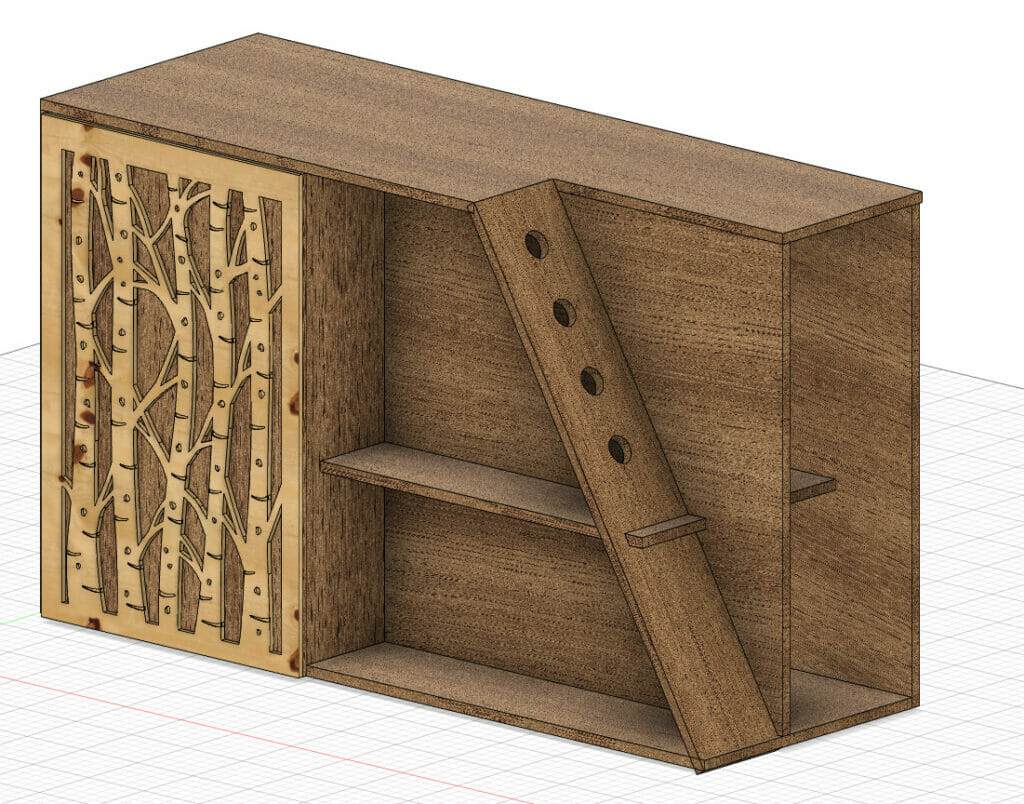
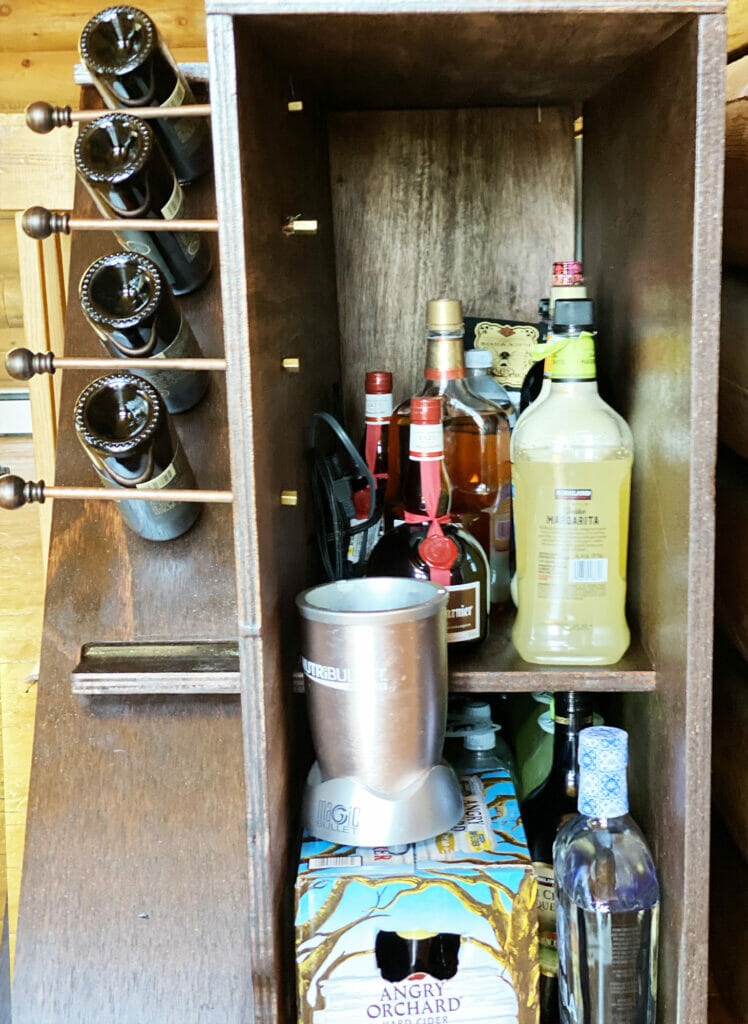
The holes along the slanted piece are just wide enough to hold wine bottles. The shelf cuts through various pieces of wood for extra support. The shelves in the back have holes cut to allow for power cables. This allows us to keep a small bullet blender in the back of the bar cart:
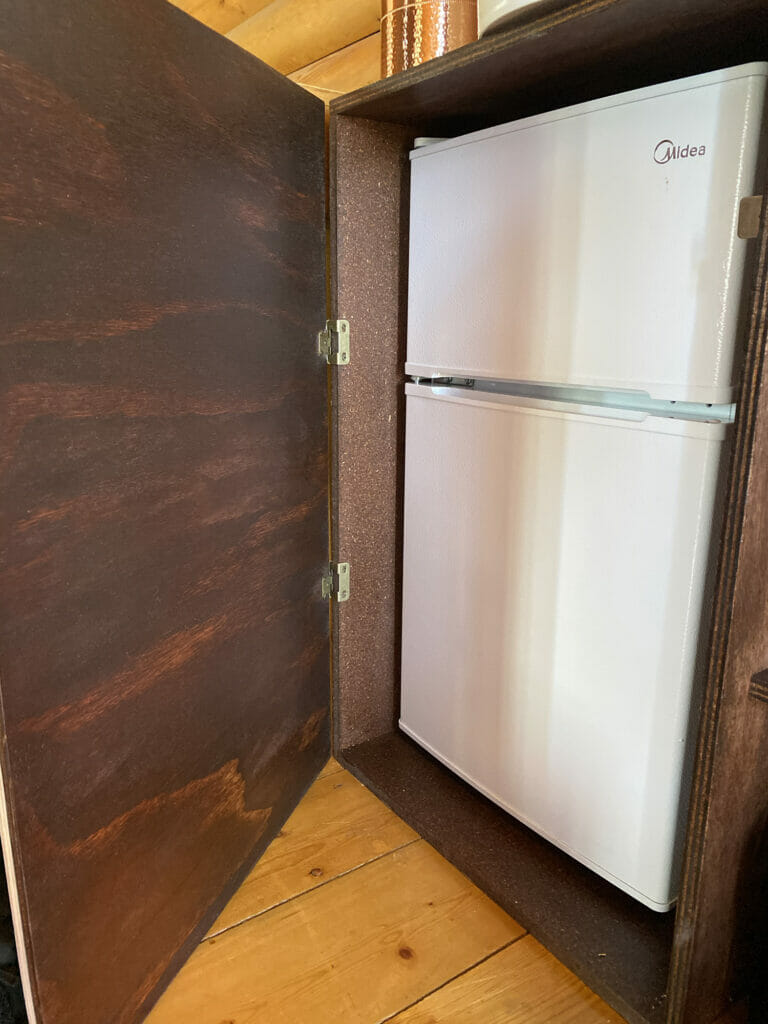
And of course, inside the cabinet door is the mini-fridge:
Construction & Finishing
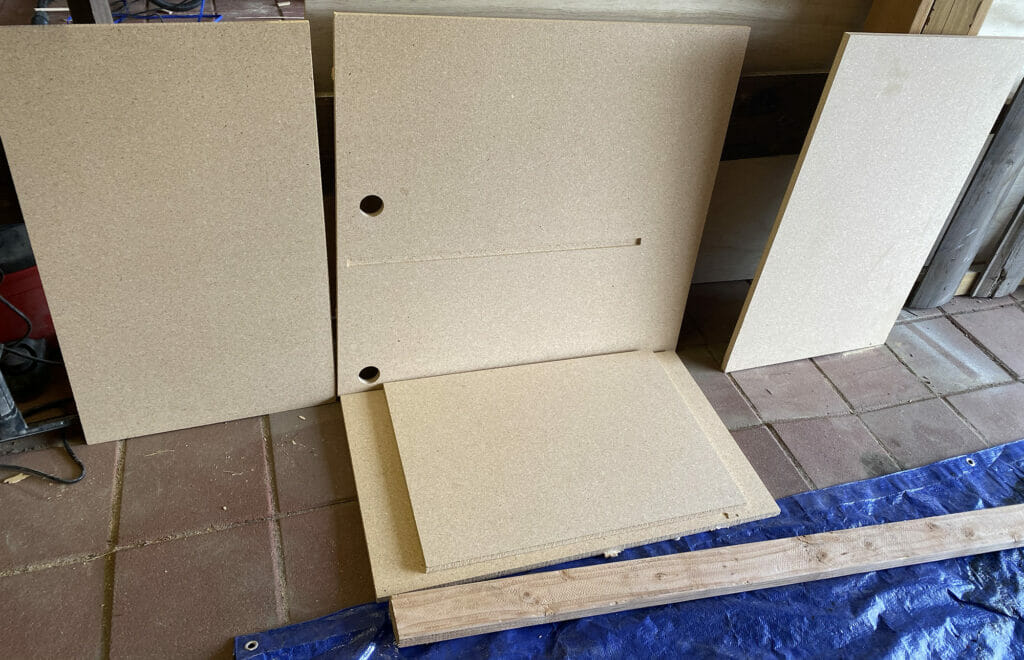
Each of the CNC pieces should be ready to cut from the Fusion 360 file. After printing the CNC parts, the process was as follows:
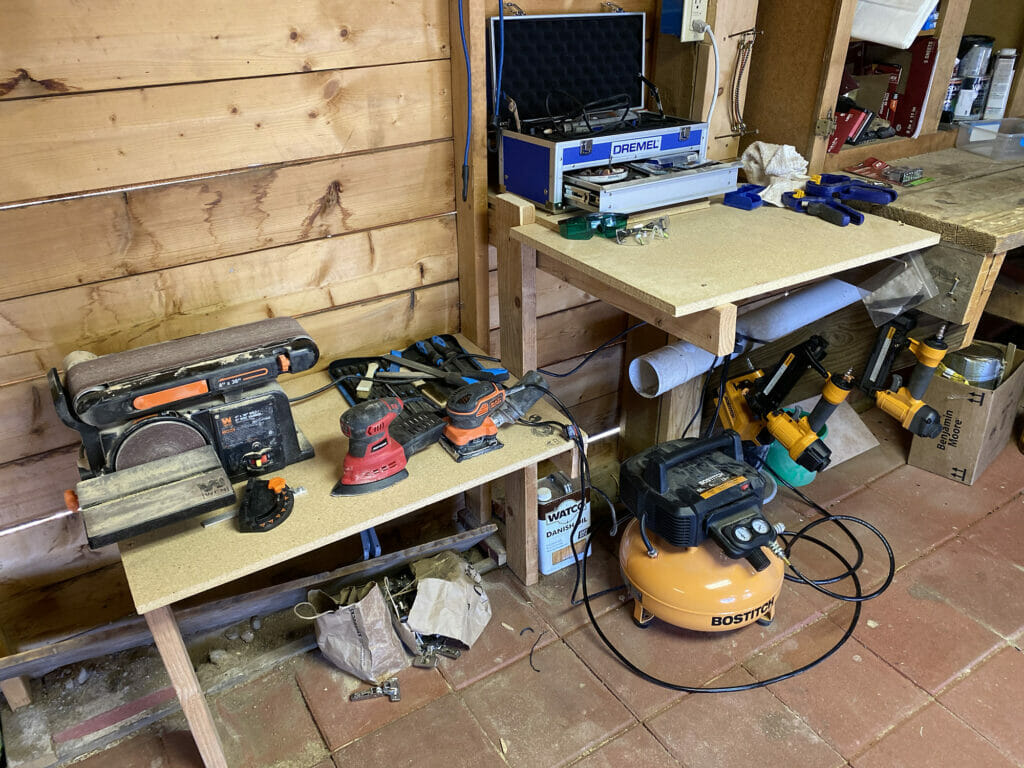
- A palm sander and belt sander to clean up the edges.
- Most of it was finished with a Red Oak stain, except for the door (Natural colored stain).
- Wood glue (and clamps) to put the two pieces of the door together.
- A finishing nail gun to hold it together.
- A drill to put the hinges / hardware in-place.
Some of the pieces were a bit small for tabs, you you may need to monitor the cut and pull out small pieces yourself.
Lessons Learned
Fusion 360 is a professional-grade tool. It is surprisingly easy to design something that fits together perfectly. Coming from a world of hand-cutting wood for the van build, this has been a major relief.
I started the design by using User Parameters in Fusion 360. This allowed me to enter the maximum dimensions of the bar cart, the dimensions of the fridge, etc. as configurable options. If any of these values changed, changing the parameter instantly updates the design.
At times, though, the “professional” nature of Fusion 360 can be cumbersome. It’s truly a Swiss army knife of CAD design. All the features can get in the way of simple defaults and clear UI. Some of the UX decisions are downright confusing, even for experienced 3D modelers. I now triple-check all my settings on the Manufacture workflow. It’s easy to forget to tweak one little thing and ruin an entire cut.
In particular, the Maslow CNC router has some quirks:
- ~35 in/min is about as fast as it can move.
- It works best with several shallow (~0.1″) passes.
- Corner pieces near the bottom left/right the plywood can be inaccurate.
All of this influences how the actual cuts are set up. I see now why gcode is not often provided as part of CNC plans. The gcode is customized to the exact stock (materials) being used. As a newbie to CNC, it was at first confusing to me why I couldn’t just download the complete gcode files for projects.
Now that we’d gotten the hang of Fusion 360, though, everything else started moving faster. Less than two months in to our CNC adventure, we were able to create a large piece of furniture in just a few days. We quickly moved on to a matching bench for the bar cart, kitchen table, and other furniture around the cabin.
(zane) / Technically Wizardry
By day, I develop a piano teaching app. This site began as a place to document DIY projects. It's grown into a collection of IOT projects, technical tutorials, and how-to guides. Read more about this site...


