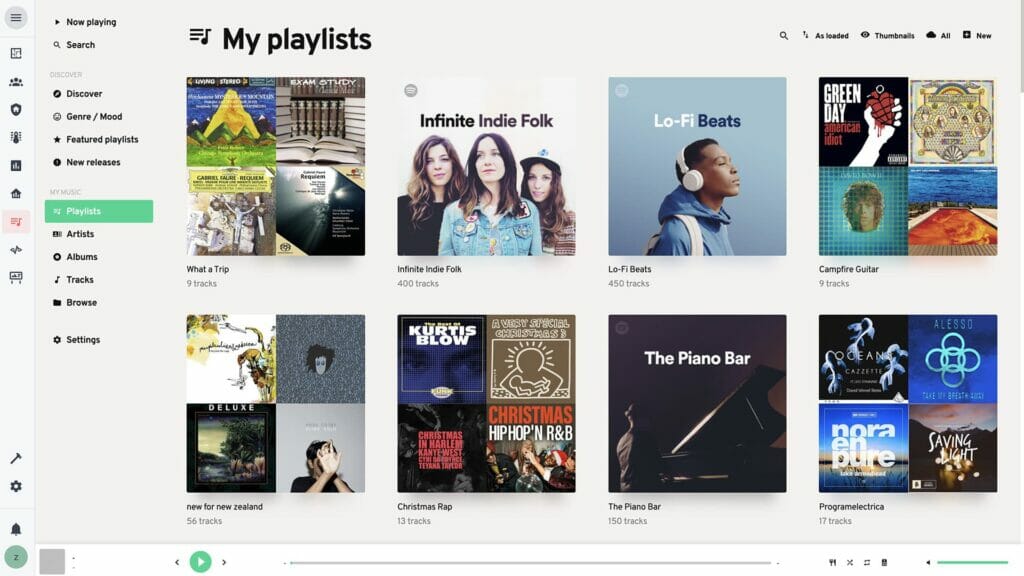
The next step in our our DIY stereo system was the audio control. Even the best audio system is no use without some good sources from which to play. Many people enjoy being able to stream music via Spotify or Airplay to their DIY multi-room receiver and audio system. We’re a big fan of Podcasts and listening to friends on SoundCloud, as well.
In the last post, we turned cheap, dumb speakers into smart speakers. These speakers can be scattered throughout the house and grouped into different zones. Each speaker can have its latency and volume individually controlled. So if you don’t have your snapcast multi-room speakers up and running, do this first:

Building a multi-room home audio system begins by making "dumb speakers smart." Like with Sonos, these DIY wireless receiver(s) can be grouped together and play music from many different sources using pulse audio + snapcast.
Airplay Server
Usually you need an Apple product to create an Airplay server.

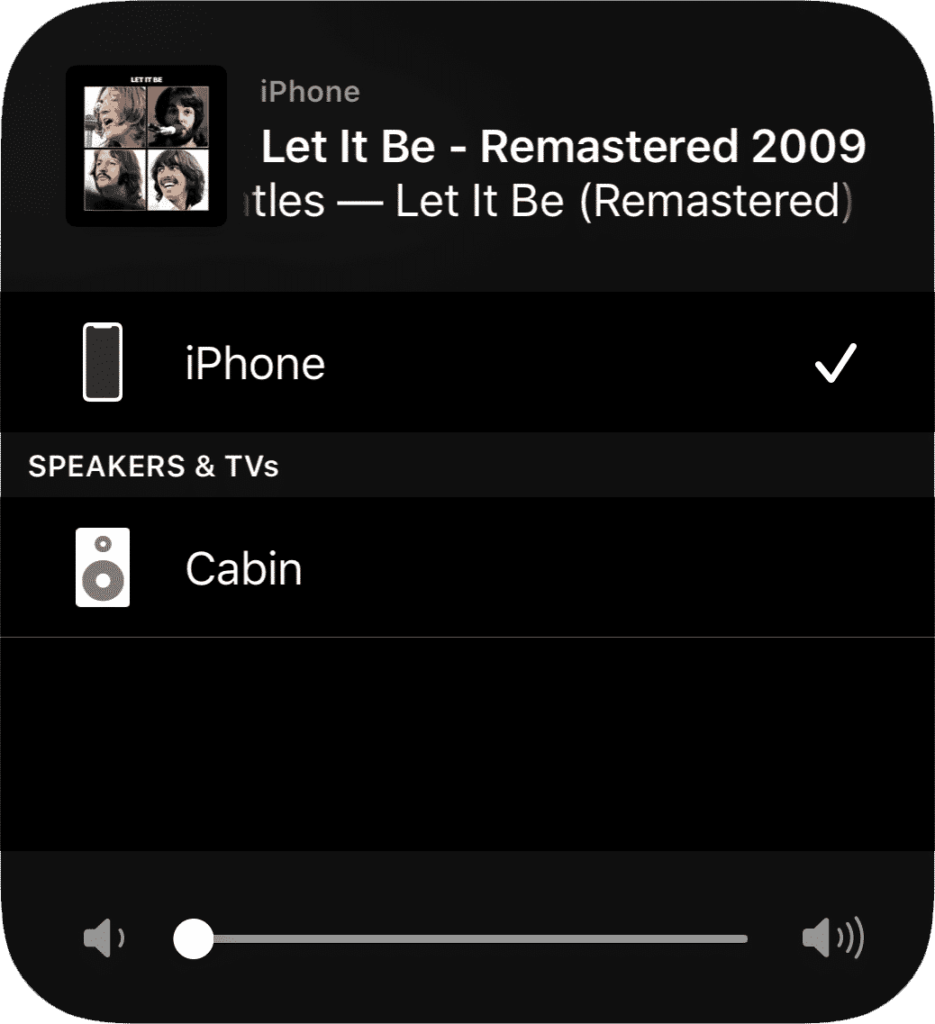
Thankfully, there’s the open-source shairport-sync. With very minimal effort, it will appear as an option for iOS devices (screenshot), effectively creating a DIY airplay audio receiver.
If you look at the snapcast player setup guide, it suggests running the Airplay executable directly from snapcast (using a stream with the airplay:// prefix). However, I prefer to keep the two executables separate. I run Kubernetes on a home cluster, so I used this docker container version of shairport-sync.
Keep in mind when launching the shairport-sync container:
- It needs to be run in host networking mode to be visible to devices on the network.
- The
/tmpdirectory should be mounted for fifo output.
I find it convenient to use fifo output because it standardizes audio streams. Importantly, any container that has access to the /tmp directory can read or write to the streams. This becomes useful when it comes to:
- Switching between streams.
- Detecting if streams are active.
- Broadcasting alerts/notifications to streams.
To achieve this fifo-based output, a few tricks are required. First, here is my /usr/local/etc/shairport-sync.conf file, plus a IOT Kubernetes deployment file:
general = {
  name = "Cabin";
  output_backend = "pipe";
  interpolation = "soxr";
  mdns_backend = "avahi";
};

metadata = {
  enabled = "yes";
  include_cover_art = "yes";
  pipe_name = "/tmp/shairport-sync-metadata";
};

sessioncontrol = {
  allow_session_interruption = "yes";
  session_timeout = 20;
};

pipe = {
  name = "/tmp/snapfifo-airplay";
};
apiVersion: apps/v1
kind: DaemonSet
metadata:
  name: shairport
spec:
  selector:
    matchLabels:
      app: audio
      audio: shairport
  template:
    metadata:
      labels:
        audio: shairport
    spec:
      hostNetwork: true
      containers:
      - name: shairport
        image: kevineye/shairport-sync
        imagePullPolicy: IfNotPresent
        volumeMounts:
        - name: audio-data
          subPath: config/shairport-sync.conf
          mountPath: /usr/local/etc/shairport-sync.conf
        - name: tmp
          mountPath: /tmp
        env:
        - name: AIRPLAY_NAME
          value: Cabin
      volumes:
      - name: audio-data
        persistentVolumeClaim:
          claimName: audio
      - name: tmp
        hostPath:
          path: /tmp
      affinity:
        nodeAffinity:
          requiredDuringSchedulingIgnoredDuringExecution:
            nodeSelectorTerms:
              - matchExpressions:
                - key: "kubernetes.io/hostname"
                  operator: In
                  values: ["big-box"]
This shairport-sync configuration includes the metadata coming from Airplay. This means we can pipe the song/artist/cover photo to another service. More on that in the rest of the audio/music series. For now, let’s just get Airplay streaming into Snapcast. Unlike with other fifos, a few more arguments are required for the snapcast configuration line:
pipe:///tmp/snapfifo-airplay?name=airplay&chunk_ms=20&codec=flac&sampleformat=44100:16:2This is because Airplay outputs at 44,100 Hz rather than the default 48,000 Hz expected in a snapclient fifo. I listened to a lot of scratchy demon-sounding music to figure that one out. Now, you can connect an iOS device to the airplay server (named Cabin in my example, thanks to the environment variable AIRPLAY_NAME in the deployment). To hear the music, make sure to change the snapclients’ stream to airplay (such as from Home Assistant).
Streaming from Spotify Speakers
There are several options for DIY Spotify speakers.
The first is simply to use Airplay, from above, to cast directly to the speakers. This is quite convenient for iOS users, especially because it is possible to control the volume just by pressing on the physical phone volume buttons.
The second is to use librespot, an open-source Spotify client. This will make the client show as another output source within Spotify itself, rather than buried behind the Airplay menu. However, I abandoned this approach despite some mild success because it felt redundant with Airplay (and was a bit annoying).
The third approach is a full kiosk setup:

There are a some nice things about this approach:
- A clean, embeddable web-interface for Spotify.
- Integrated with Snapcast by default.
- Anybody can use it on a kiosk sitting around the house.
This last bit means that no phone is required. The Home Assistant kiosks we already have are enough for anyone to control the music.
Iris has a getting-started guide.
Again, I deployed via Docker, and my deployment is below.
I added a little to the default Iris docker image, as well. In this PR, I contributed the ability to pre-configure a user session. As explained in the bypassing login section of the docs:
To bypass the login, you can use query params to assign JSON values directly to the User Configuration (see prior section for help determining appropriate values). Examples:
- Skip the
initial-setupscreen:/iris/?ui={"initial_setup_complete":true} - Set the username:
/iris?pusher={"username": "hello"} - Enable
snapcast:/iris/?snapcast={"enabled":true,"host":"my-host.com","port":"443"}
This may alse be used to enable Spotify, by passing ?spotify={...} with the valid token data. However, please be aware that this entails sharing a single login between sessions. Anybody with the pre-configured URL will be able to use the Spotify account in Iris. If the original user (who created the Spotify session) logs out, the token will continue to work for other users who access the page (the logout action does not invalidate the token for other users).
My IOT Kubernetes deployment:
- Exposes ports 80 (HTTP) and 6600 (MPD backend).
- Uses my
inzania/iris:latestimage. - Loads config from
/config/mopidy.conf(mounted). - Is bound to the
big-boxmachine for access to/tmp.
apiVersion: v1
kind: Service
metadata:
  name: playlists
spec:
  type: ClusterIP
  selector:
    app: audio
    audio: playlists
  ports:
    - port: 80
      name: mopidy-http
      targetPort: mopidy-http
    - name: mopidy-mpd
      port: 6600
      targetPort: mopidy-mpd
apiVersion: apps/v1
kind: Deployment
metadata:
  name: playlists
spec:
  replicas: 1
  selector:
    matchLabels:
      app: audio
      audio: playlists
  template:
    metadata:
      labels:
        audio: playlists
    spec:
      containers:
      - name: mopidy
        image: inzania/iris:latest
        imagePullPolicy: Always
        command: ["/usr/local/bin/mopidy"]
        args: ["--config", "/config/mopidy.conf"]
        ports:
        - containerPort: 6680
          name: mopidy-http
        - containerPort: 6600
          name: mopidy-mpd
        volumeMounts:
        - name: audio-data
          subPath: audio
          mountPath: /media
        - name: audio-data
          subPath: config/mopidy.conf
          mountPath: /config/mopidy.conf
        - name: tmp
          mountPath: /tmp
        env:
        - name: HOST_SNAPCAST_TEMP
          value: /tmp
        - name: HOST_MUSIC_DIRECTORY
          value: /media
      volumes:
      - name: audio-data
        persistentVolumeClaim:
          claimName: audio
      - name: tmp
        hostPath:
          path: /tmp
      affinity:
        nodeAffinity:
          requiredDuringSchedulingIgnoredDuringExecution:
            nodeSelectorTerms:
              - matchExpressions:
                - key: "kubernetes.io/hostname"
                  operator: In
                  values: ["big-box"]
Podcasts, Soundcloud, & More
Iris is a web-frontend for Mopidy.
This means that if you’re running Iris, from the last section, you can already install the various other extensions for Mopidy. For example, iTunes and TuneIn:
To make this easier, I’ve pre-installed these in a customized docker container at inzania/iris:latest. You can install any of the extensions yourself, as well. Each of the extension pages lists the install command and relevant instructions — just install and then restart Mopidy/Iris.
Note that some audio sources may require changes to mopidy.conf. For example, the SoundCloud integration requires a login and token-configuration. Or, the podcast integration will require a feed.
While this takes a little effort to get working well together, the result is well worth it. Suddenly, anyone in the house can skip tracks, queue music, search for a podcast, etc. Still, the real magic comes into play when everything integrates into Home Assistant. For more on that, check out the series on audio IOT:

Use any speakers to create a DIY multi room sound system. Each speaker (receiver) in this home stereo system is perfectly synchronized with the others, and can wirelessly play music from anywhere.
(zane) / Technically Wizardry
By day, I develop a piano teaching app. This site began as a place to document DIY projects. It's grown into a collection of IOT projects, technical tutorials, and how-to guides. Read more about this site...


Thank you for an interesting read! My setup is nowhere as complex as this, and considering the effort you’ve put into this, I’d highly recommend looking at utilizing motion sensors to have the music follow me. As a source of inspiration on how to achieve it with HA and Sonos, take a look at Phil Hawthorne’s guide – should be extendable to your setup. [link to philhawthorne.com]
What I love the most about it is that is so hands free and uses hardware I already have. Not having to pick up a phone to join a speaker to a room whenever you enter for short periods of time is great – mine is set up with the bedroom as the master in the AM, and I switch the master to the TV whenever it’s turned on – so if I need to run into another room quickly to grab something while watching TV, I can still listen in.
Very cool! I’ve been considering how to do presence detection in this place. I’ve turned Raspberry Pis into bluetooth beacons that detect our phones before, for example. Motion sensors seem like a good way to do it, though I’d be worried about the dog triggering them.
The idea of changing the master through the day is clever. I may have to integrate that into my Home Assistant setup. Definitely given me some things to ponder before the next post!